
SCAAU Administration
Admin Links
Add Events as a Director
To add an event as a director, come to this page and click "Add Event":
- Click the "Add Event" button shown on this screen.
- Provide the proper Add Events password provided by your website administrator (Note: This is not the same as the password you create/created to log into the website to create posts)
- Create an event as you normally would in the calendar. Add any attachments, images, videos, links (for tickets, other?) and directions you feel will be helpful
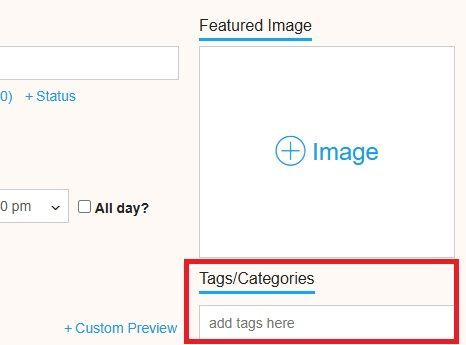
- Important: To limit an event to appearing on a particular calendar, you must choose the appropriate, sport-specific tag from the dropdown. Events with no tag will only appear on the NEWS page. Events with the "All" tag will appear on all calendars. You can select more than one tag.
- Submit the event.
- You will receive confirmation of your submittal.
Please note that only the calendar admin can edit or remove events once submitted. Your event should automatically appear on the proper calendar and page.
Feel free to review the documentation on the link above and reach out to Tockify for help with your calendar.
Updating Pages as a Director
The SC AAU website is designed to hold a similar page structure for the main sport "landing" page. But, each directors content page can hold the content created and structured by that director.
To edit content on the website, Log in using the user name and password you received in the invitation process via email.
Once you log in, you will see a "Blog" feature (click it). Use this to add your unique news/story page, choose "New Post" on the top left.
Use widgets to add images, text boxes, accordions to complete your page. Refer to the documentation above for blog editing details. A sample image appears in the text area just to show what is possible. Replace the image or delete that image control. Use the three "screen" icons on the top of the page to make adjustments for desktop, tablet and mobile phone layouts.
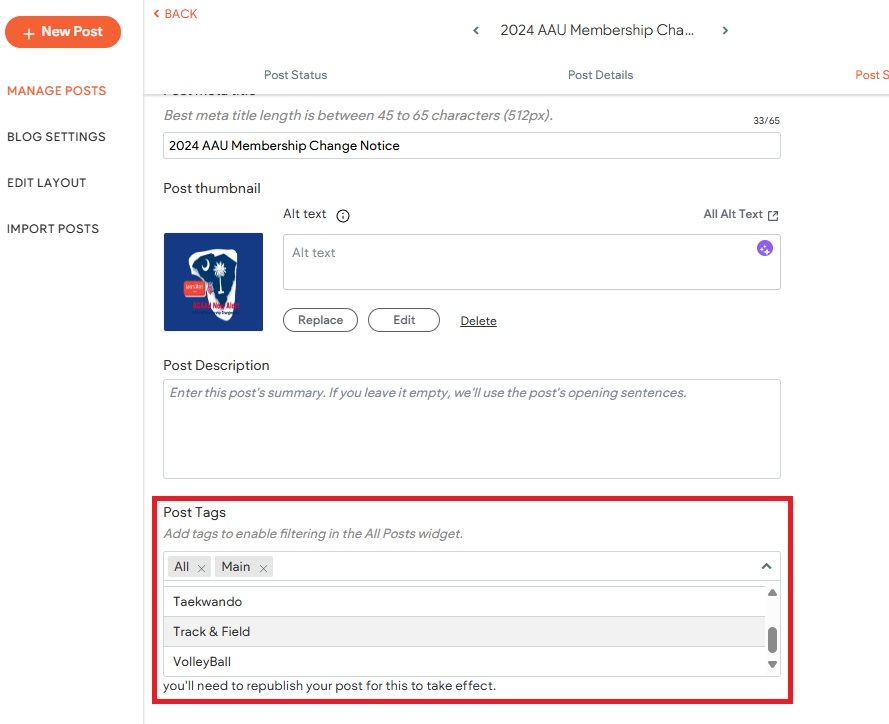
You should see an orange "settings" wheel at the top of the page near the "Done" and "Republish" buttons. Click that settings button to see the Post Tags control and properly tag your post per your sport. Click "Done" to finish editing. Click "Republish" to republish a post you changed.
All directors documents are housed in a central repository. So, only edit your own docs. Similar to the events system, these documents use predetermined "tags" (or keywords) to determine on what page they appear. Use your sport-specific tag. You may also add "All" or "Main" tags for your news item to appear on the home page and/or all sports pages.
Publish or republish your article if you are done editing. The article should appear on the proper page with the images you selected.
Adding Pages as an Administrator
Generally, Tockify and post tags determine which events and posts appear on which pages.
In summary, these are the steps to add a new sports page:
1 - Open the Tockify calendar app and add the new Tag with color
2 - Open your "key" blog post and create a new tag (As seen below)
3 - Duplicate an existing Sports page...Name with all caps
4 - Change the tag of the blog widget of the new page to the new sport + "All"
5 - Delete the old Tockify events widget on this page
6 - Add a new Tockify events widget with new sport and "All" tag ??
7 - Create an asset folder for the sport and upload images + title background
8 - Replace images in the image grid widget for that sport
9 - Add the new sport to the blue quick access menu on home page
"Key" Post = A post that has all official tags
Publish or republish your article if you are done editing. The article should appear on the proper page with the images you selected.

The information contained herein is for informational purposes only. It is not intended to be complete, nor is it represented as such.
- BE PREPARED: Adult and Non-Athlete memberships are no longer instant and cannot be applied for at the event. Please allow up to 10 days for membership to be processed.
- Participants are encouraged to visit the AAU web site www.aausports.org to obtain their membership.
The AAU does license events in local areas, granting a non-exclusive right to event hosts to use the AAU logo and brand under terms and conditions, including requirements as specified by AAU code. The event operator is an independent contractor and is responsible for the management and conduct of the event and may set its own rules and operating procedures, except under no circumstances can the host waive the requirement of membership in AAU for participating in licensed events.
By the AAU’s granting of (a) license (an approval) to any event operator (Host) to conduct such an event, the AAU does not accept any financial responsibility nor assure any particular quality of competition.
The AAU of the U.S., Inc. does have supervision over District qualifying events, Regional events, and National Championship events in regard to establishing rules of competition, but does not have direct control over the event operators, pursuant and subject to the AAU Code (only).
The AAU does provide insurance benefits to its members in specified situations, subject to the terms of its policies.